Mala-Kit
For me, its a couple things…
A life changing tool of intention, by holding the beads in one hand and staying your intention to yourself (out loud or not) then moving to the next bead and repeating it your intention making your way though all 108 bead.
There is something beautiful with this practice, it seems to simply align your focus and allows you to let of of other things which don’t matter as much.
Strange thing however, you have to do it if you want to see the results.
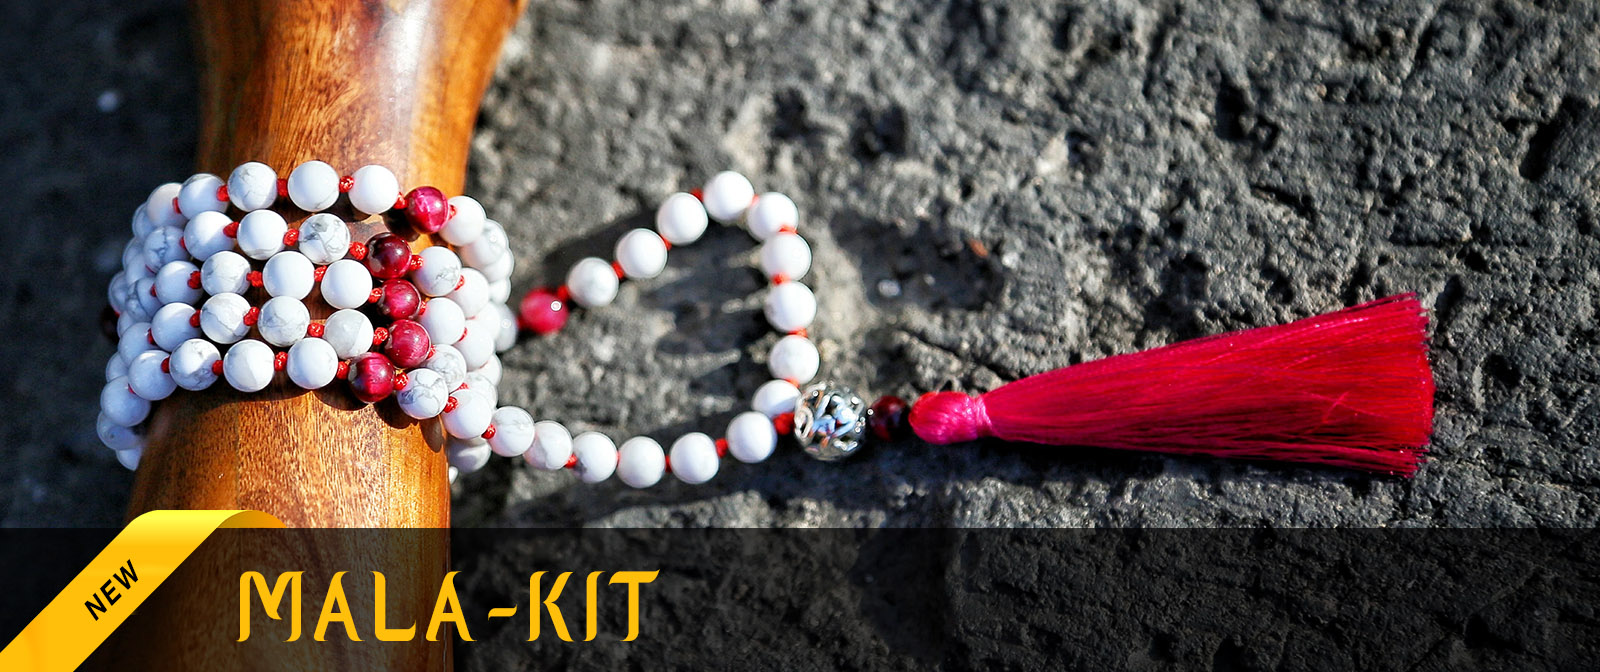
Jewelry & Reminder, it makes for a gorgeous wrist wrap (learn how to stretch size your mala) and an eye catching necklace, then though out the day it seems to either catch your eye or somehow be there and remind you of your intentions.
building instructions
Step One – Your Design
Choose how you would like to design your mala to look using the accent/marker beads, by choosing how many accent beads to use:
- Zero accent beads, keeping it plain
- One accent beads, at half way, the 54th bead
- Three accent beads, 1 at every 27th bead
- Five accent beads, 1 at every 18th bead
- Eight accent beads, 1 at every 12th bead
- Eleven accent beads, 1 at every 9th bead
Step Two – String it up
Fun & Intention: You can stay your/an intention as you put each bead on.
String the beads in your chosen design order, note, the first and last bead will NOT be an accent bead.
Step Three – Check it out
Checking before knotting will save you throwing your toys.
Lay string in two halves on table, the accent beads should line up on either sides/both halves, indicating you most likely didn’t make a mistake (or if you did it’s an even mistake on both sides, which is impressive)
Step Four – Lock it up
Tie loose knots at either end to stop beads falling off.
Step Five – Tying the knot
Tie your 1st knot by dividing the beads in half, count 54 and tie your first knot in the exact middle of string, take your time this can be tricky, you do NOT want one end to be to short.
Step Six – Get knotting
Become a guru with Intention: You can stay your intention as you tie each knot.
This becomes easier by the time you get to 108…
- Push & hold the next bead up against previous knot.
- Tie a soft knot up against that bead.
- Push the next bead against this knot to lock it close to the previous bead.
Step Seven – Knot on
At this stage because all the beads are secure, I like to relocate outside or somewhere comfortable where you can relax, breathe and observe while you knot with intention, or knot.
Repeat, until 2nd last bead on both sides.
Once all knotted, this is a good time to take a break.
Step Eight – Full circle
You want to find a table more than likely inside again.
Tying the 108 circle
- Remove twists and gently stretch beads apart evenly along the string.
- Lay string in two halves on table, admire how beautiful it is and remove soft knots at either end.
- Holding the two string ends together with one hand while pushing end beads tight with the other.
- Create a loose knot with both strings together and slowly move it up close to the end beads while keeping the end beads tight against their previous knots
- Slow tighten the closing knot while keeping everything snug, once happy, pull on either string end locking the knot super tight.
Another good time to take a break, and min celebrate!
Step Nine – Get your Guru ON!
Push both string ends though the guru bead, then I like to add one more bead, which I call the mission bead as its a mission to get on! Thread both string ends though the last accent bead, this will be tight, thread one end though then the other placing it on top of the other string slowly pulling one string end pushing the other.
Step Ten – End in sight
You have a tassel or hanger choice to make now.
Tassel Choice – Adding the tassel
- Thread one end though the hole in the top of the tassel, you can push a needle or something similar though to help.
- Push one side of the tassel tight up against the last bead.
- Put both string ends together and tie a soft knot with both of them together and work the knot close up against the tassel hole, when happy pull either string ends and make the knot super tight.
- Cut the excess string leaving about 2mm from the knot.
- Hold & protect the tassel in one hand having only the knot end exposed and use a lighter melting the 2mm ends closing the knot, quickly trying not to burn, push the hot melted end with finger sealing the deal.
- Work the knot inside the middle of the tassel hole so it disappears.
- Tassel reinforcing: Recommended option is locking your tassel by wrapping a thin string tightly around the upper part of the tassel, about a quarter inch from the top closing it with a tight reef or granny knot, cut 1mm, carefully melt ends.
Hanger / Love Lock Choice – Adding the hanger.
- Hold both string ends together and tie a knot about 2 inches(expert knotter) or 3 inches (intermediate knotter) away from the last bead.
- Tighten this knot super tight by pulling both string ends, when happy cut the excess string about 2mm away from knot.
- Using a lighter to melt the 2mm ends to close the knot and quickly (trying not to burn), push the hot melted end with finger sealing the deal.
- Push and hold the last bead tight onto guru bead, then create a loop/open knot and thread the end(melted knot) though the love lock/hanger and back through open knot, then slowly tighten the loop knot with end locked though, pushing knot up towards bead, pulling on final loop string.